Its been awhile since I last blogged but I have been very busy creating a lot of things. More info to come on that in another blog post!!
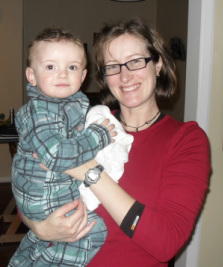
One thing that kept us busy is that my big boy Mouse turned THREE!
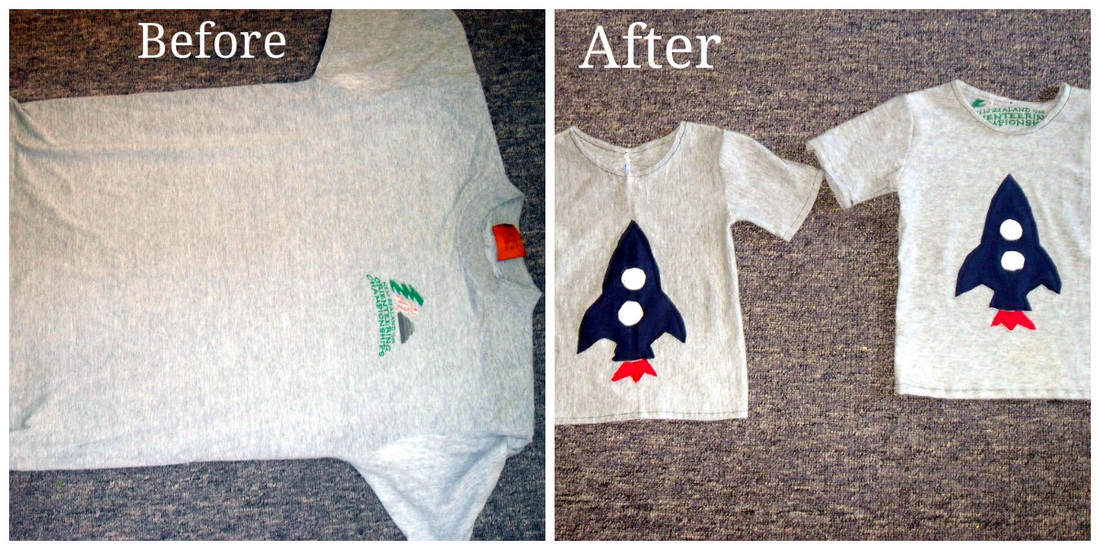
He has wanted a space theme for some time so I thought I could make some rocket t-shirts for him and Tigger to wear to the party.
My wonderful in-laws have been digging out old shirts and tees for me to use and I happened to find an awesome grey t-shirt form 1998! It was XL and used to be mine. I must have got my brothers one by mistake I think!
So I turned One big shirt into two little ones with Rocket ship Appliques on them.
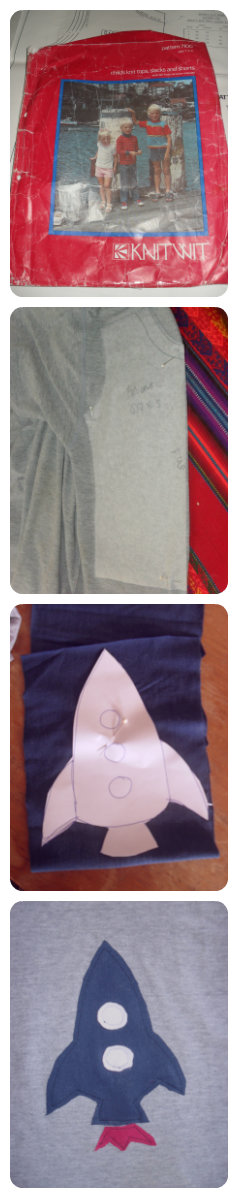
Mum sent me this great pattern from the early 80s.
It has a shirt, pants, jersey and shorts all in one.
It is fantastic and so retro. I love it!!
I didn't want the print on the t-shirt so I used the inside non printed sides for cutting out my patterns.
I got enough material from the big tee to make a size 1 and a size 3 short sleeve shirts!
For Tiggers one I had to do the front and back pieces in halves but was able to sew the pieces together to make a whole front and back section.
Then I found alot of scrap material to make my rockets.
I used Blue t-shirt material fro the rocket body.
Red t-shirt material for the flames and white fluffy material for the rocket windows.
I then found some sticky transfer iron on paper to get all the bits to sew together. This turned into a disaster as the white fluffy material melted onto the iron!!
So I ended up just pinning those bits on before sewing them.
I sewed the Rockets on just with a simple straight stitch. I have done it properly before with tiny zig zag stitch but I wanted this to be quick and simple.
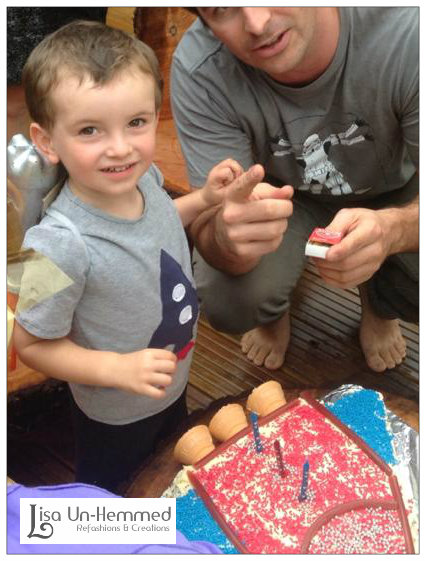
Mouse had a fantastic party and a great time with his rocket t-shirt.
I think they turned out great and for my first t-shirts and will be making some more soon with all these shirts I have in my stash
I had a problem! My Performance Choir group (see our
website) had decided that we needed to up the classiness of our outfits. Before we were just wearing Black t- shirts with our group logo on it. But now we had to all be wearing black long sleeves and be in dresses that we could wear to a wedding. Oh help!
I had no tops and no extra cash to go and get one for the performance that weekend. So luckily I came across this
great tutorial to turn a simple top into a shrug.
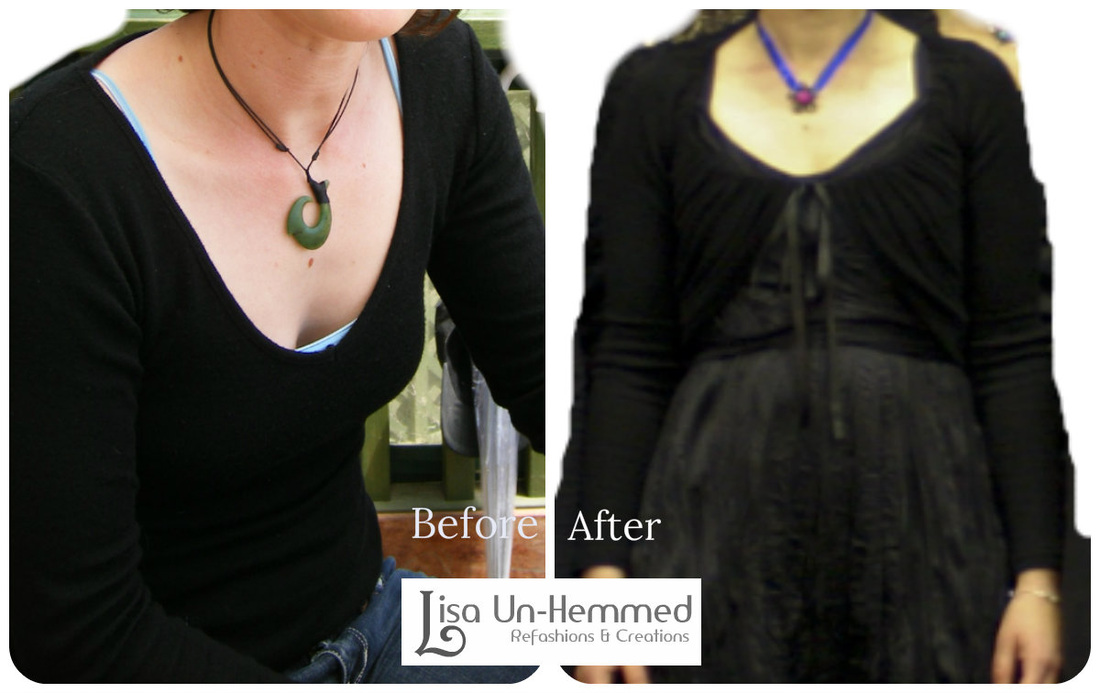
So I found a basic long sleeve Merino wool top that had stretched a bit from wearing when I was pregnant with Mouse and set to it.
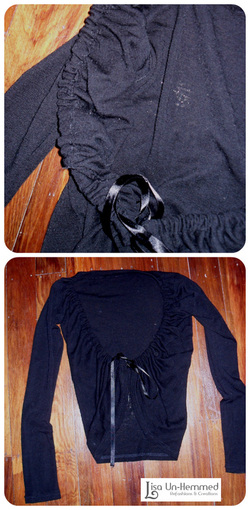
Basically you cut down the front of the top and then fold over the cut edge about 2cm and sew it down to make a tunnel you can thread ribbon through.
I was in such a rush to have this ready I just hand sewed the hem down, as it only had to last 20 minutes for the performance.
Afterwards I decided I liked the look so I unpicked my hand stitches and over locked the cut edge.
Then I straight stitched the hem down with my sewing machine.
I used about 2 metres of 5mm black statin ribbon that I thread through the seam tunnel using a safety pin.
Tied it up in a bow in the front and I was set to go sing.
I used this for performing all winter and I think it looks much dressier than a plain top and shows off any nice dress I wear underneath.
Super quick and easy to do and I will try on other tops in the future too I think.
I found some what I thought were some lovely dresses online a few years ago. They fitted my top half fine but must have been made for people with no shame, as they hardly covered my nether regions. So they ended up in my wardrobe unloved.
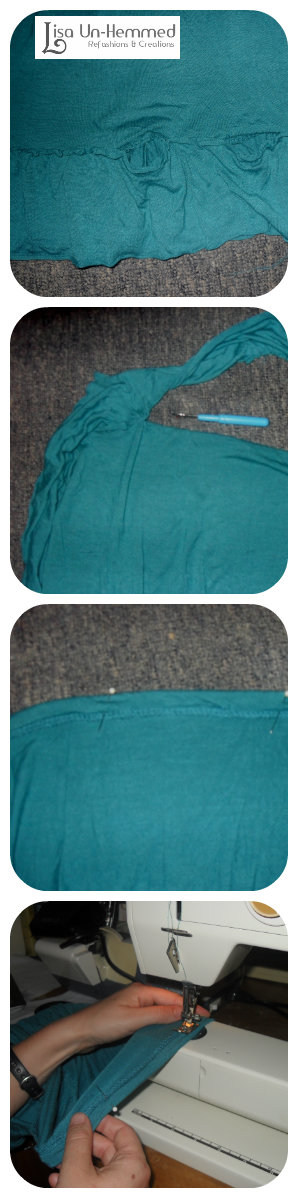
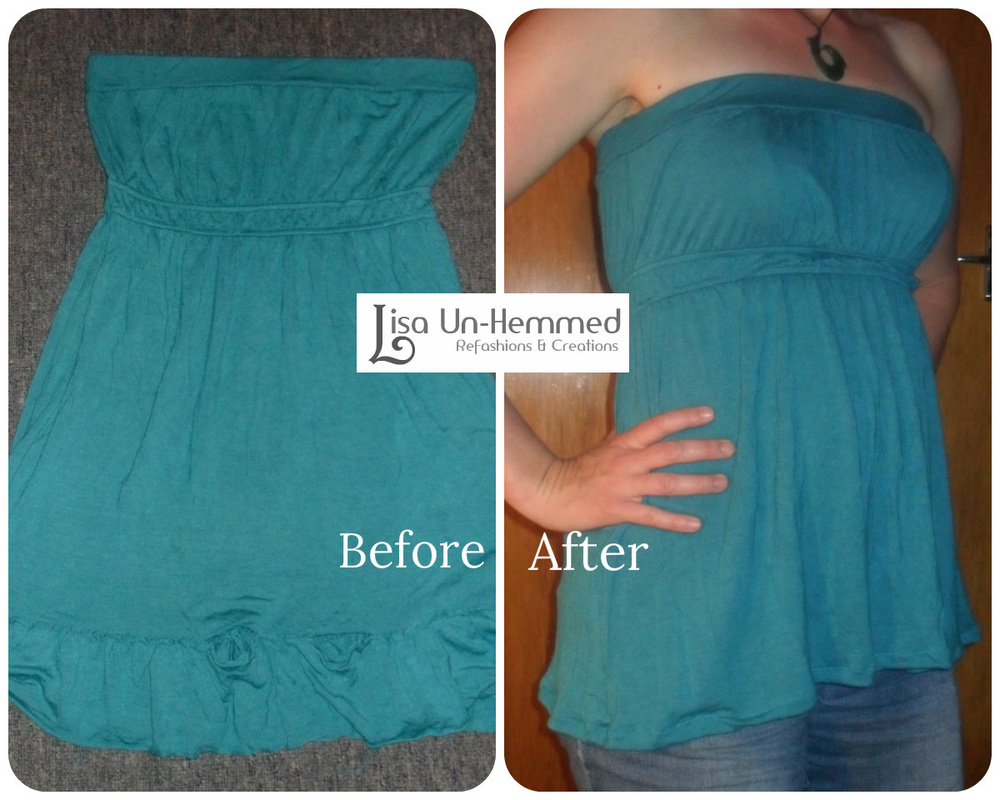
I loved the colour of this aqua strapless dress, and was wearing it as a skirt for a while until I noticed the frilly hem was falling off.
I think I could have sewed it back on but decided those frills had never been my style anyway.
So I unpicked them off with my trusty unpicker.
The edge of the unpicked seam was still in good overlocked condition so I just turned up the edge and sewed it down with matching thread.
Now I love wearing it as it is definitely a top length, not a dress, so hopefully will get some more wear out of it this hot summer!
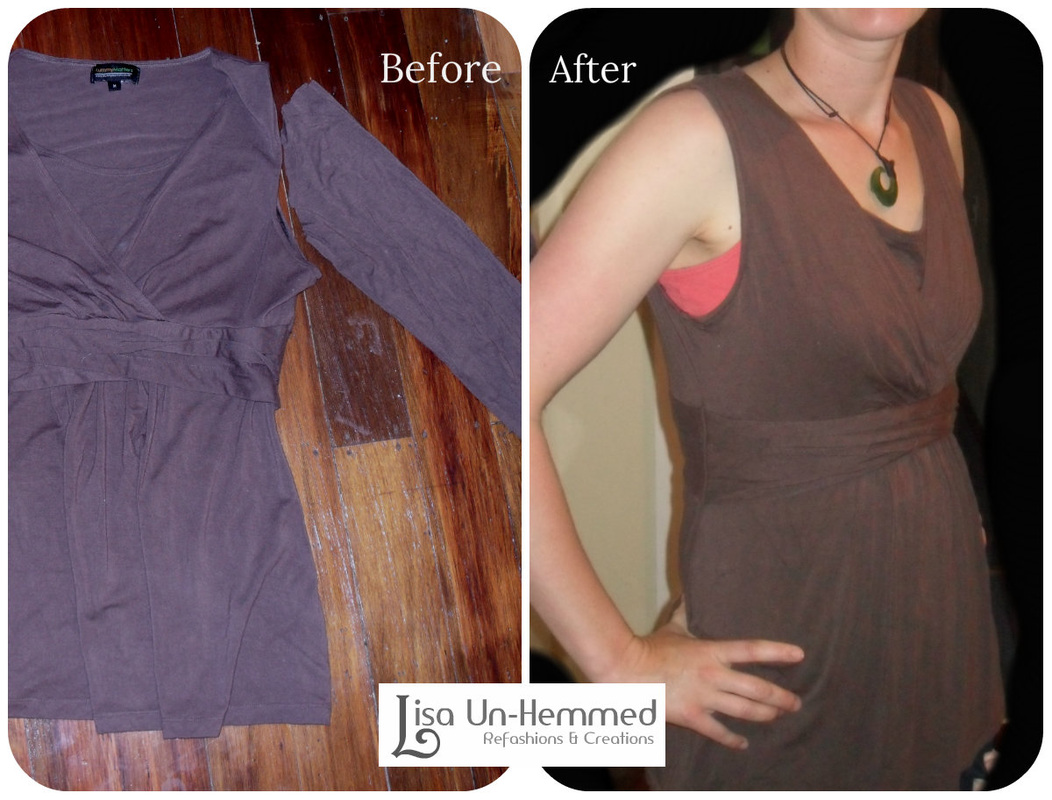
When I had Mouse I splurged and got some great breastfeeding tops that I thought looked fantastic. Unfortunately I forgot that long sleeve tops tend to annoy me and I constantly end up pushing or pulling at the sleeve all day. So the sleeves of this top had to go.

I was being in a rush so instead of carefully un picking the sleeves I just chopped them off with my scissors.
I then overlocked the rough edges and folded them over and stitched them down with matching thread.
I love my new singlet and wear it all the time now.
Just have to find something to do with all the material left from those pesky sleeves now
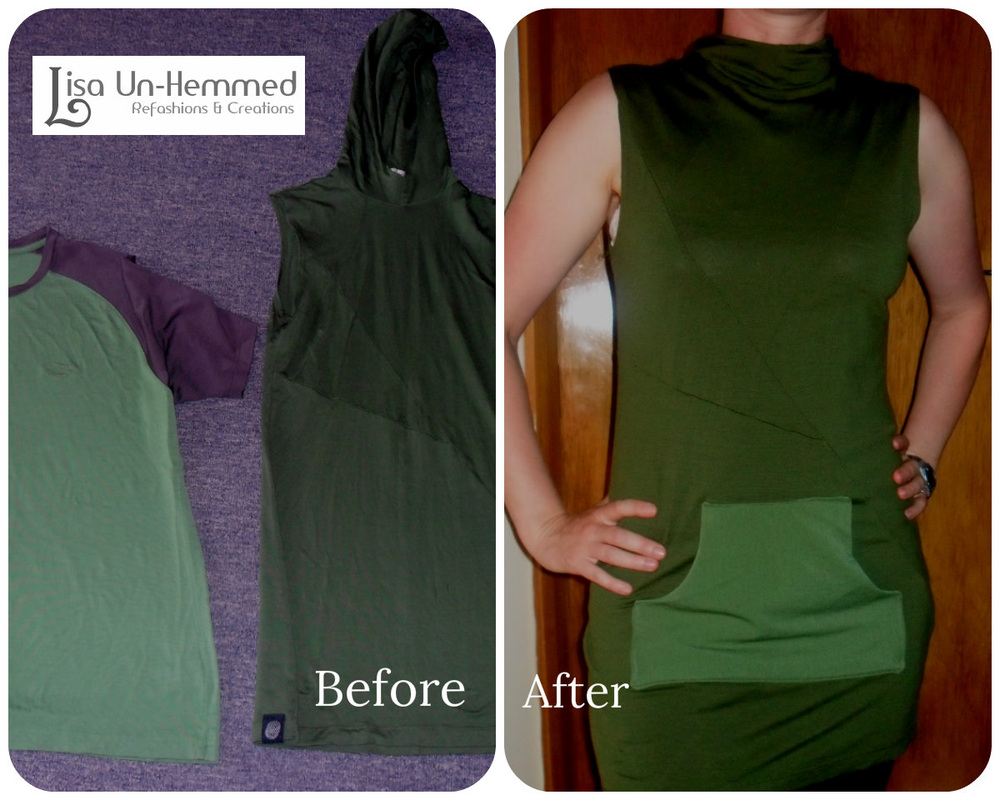
I love it when I find a few tops in my old clothes stash that colours match.

I have had this funky hooded green tunic for about five years and have worn it to death.
As you can see it had some really attractive holes right in the front, for all to see.
But the rest of it was in really good condition and I couldn't bear to throw it out.
I also found this great green t-shirt that my husband got years ago that had been given to his brother and came back to us with some interesting stains from darkest India.
Nothing dodgy apparently!
The colours were so good together I thought I should be able to fix my tunic up a bit.
I found this
great tutorial on Pinterest that I thought could work by adding a pocket to the front
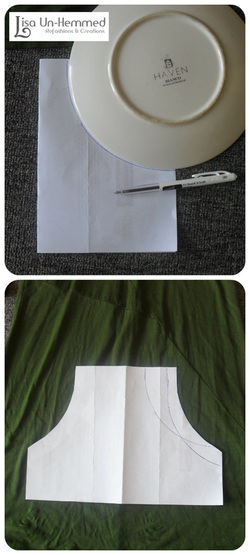
I got a bit of A4 paper and folded it in half.
Then traced around the edge of a side plate to get a curve for the pocket holes.
I then cut the curve out and it looked like the photo to the left.
You can see the couple of attempts it took me to get the shape I liked!
I then placed the shape onto my tunic top to see if I liked it and altered the pocket shape til it looked right.
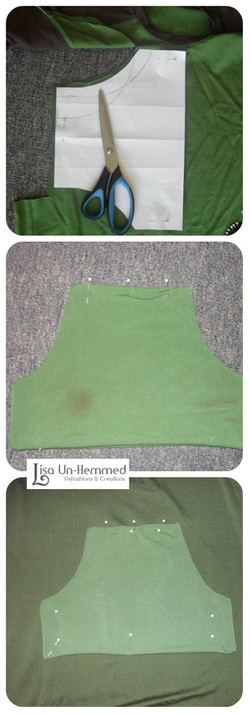
I then used the pocket pattern to cut out a double layer thickness on the green t-shirt.
I pinned the 2 pieces together and overlocked it together with a small gap at the top to turn it inside out to put the seams inside.
I made sure no stains were visible on the side that was going to be on the outside of the pocket!
I then stitched the pocket on along the top, making sure my turning hole was stitched as well.
Also along the sides and bottom making sure the hand holes were open.
I am so glad I got to reuse the old t-shirt into making my tunic wearable again. And the pocket had been great for putting my keys in when carrying the kids.
Mr T has finally let me refashion some of his tired work shirts, which I am super excited about as I have been bugging him for ages to let me use some of the older ones to have a play with.
I saw
this top on Pinterest and thought I could give it a go.
These are the steps I took to do it, but you can refer to the above tutorial for more help.
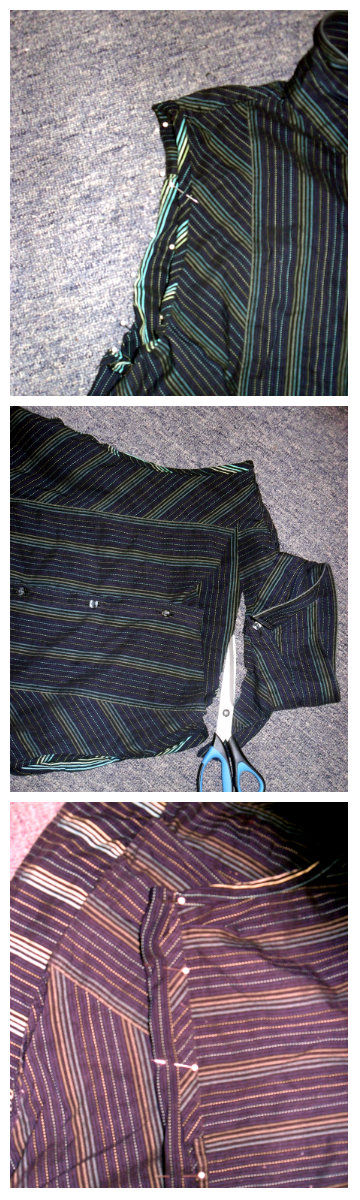
First I cut off the sleeves on both sides.
I then folded the edges over twice to the outside and pinned them.
The colour of the inside was pretty cool and vibrant so I left it like that.
I then sewed it down with a straight stitch.
I then cut off the collar.
The first time I did this I didn't go low enough, and had to re cut it below the back yoke of the shirt to make it sit better.
I then folded the front and back top parts over twice about 2cm to the front and sewed it down with a straight stitch.
This makes a tunnel to thread through cord/ribbon to make the shoulder straps.

I then cut the sleeve material in a spiral to get a really long continuous bit of material about 1.5cm wide.
I folded it in half and over locked the rough edge to make a sturdy cord.
I then cut the cord in half and used one half to thread through the front and back top tunnels.
I used the second half as a tie around my waist.
I really love wearing this top as it is really nice and loose to wear on hot days.
I actually have been wearing it inside out as the inside stitching is really neat and the colours of the inside are so much more vibrant.
But when I wear it the right way you can see the buttons and the inside parts are visible at the arm holes and neck as a sort of bias biding look.
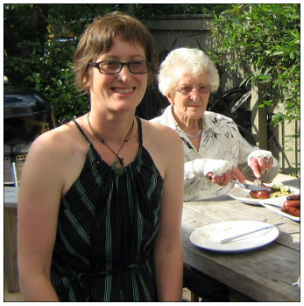
Here is a photo with my lovely Nana and my new top on Christmas eve, which was a very hot day, so I loved having the coolness around my shoulders and loose fitting around my abdomen.
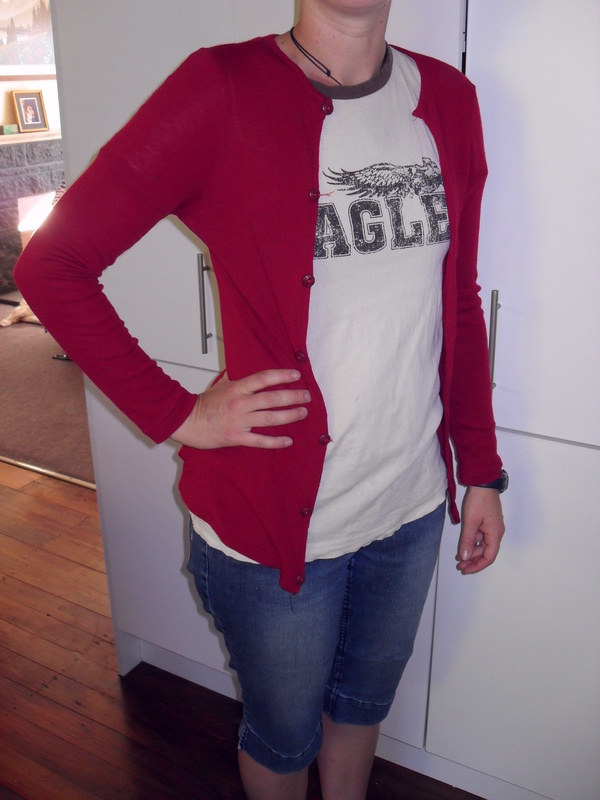
| | I found a awesome red maternity merino top hiding in my wardrobe that I hadn't worn in about a year.
It was a bit stretched from my big preggy belly with Tigger, but still in great nick.
| |
I also thought it would brighten up my spring wardrobe, but decided I needed more cardigans than pullover tops.
So out came the scissors....
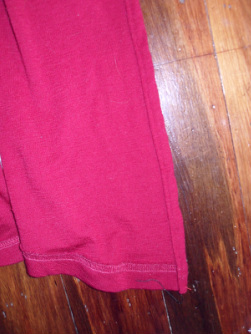
I chopped a straight line down the front and over-locked the edges.
I then turned the edge over twice and top stitched it down with red thread.
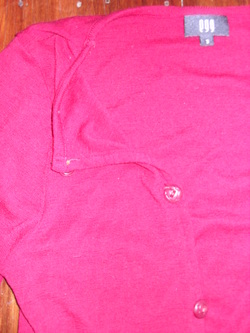
Then I hand sewed red buttons on the right side about 5 cm apart.
I didn't bother doing button holes as I wanted to keep the cardigan open - maybe I'll do them at a later stage.
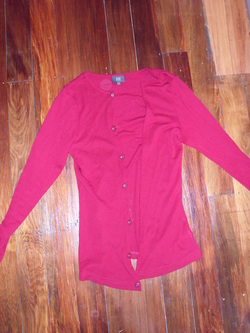
These photos make it look pinker than it really is - Its bright firetruck red!
This refashion cost me nothing as I already had the buttons.
I have already worn this top so much more as a cardigan. It has been great to throw over t -shirts and singlets.
I have also worn it with a belt, which dresses it up a bit.